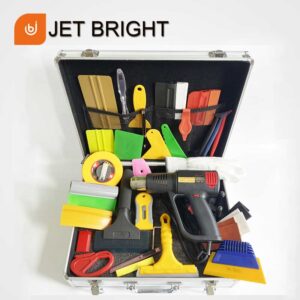

This window tint squeegee is the best car tint tools, it is really the auto film applicator should have. They also need other professional window tint tool kit. We have made the good quality as 3m, like rubber handle, bulldoze, contour, the reach bluemax squeegee and other scratchless squeegee.
Window Tint Squeegee Wrapping Video
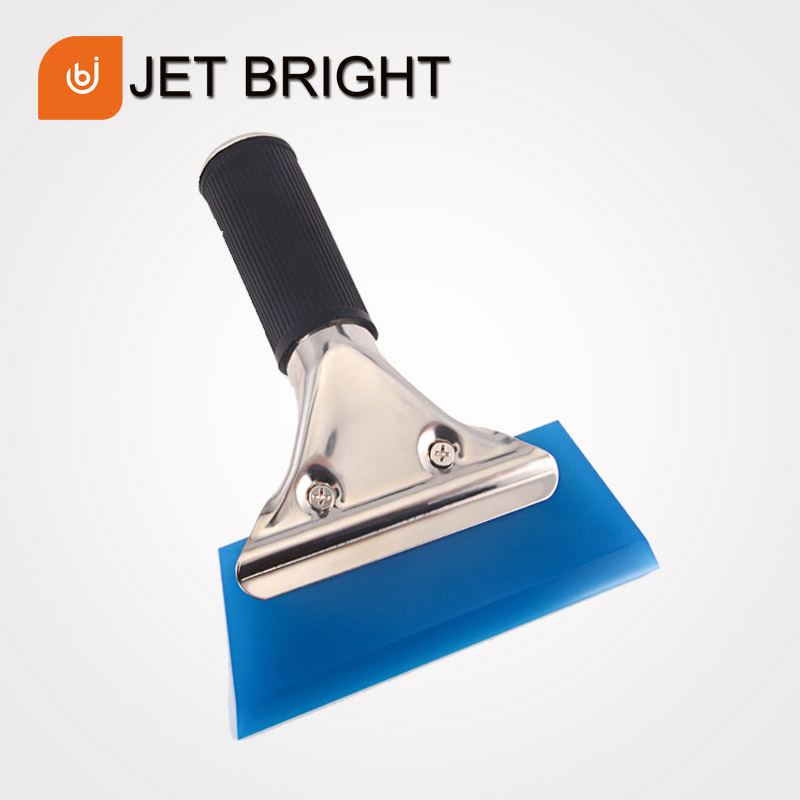
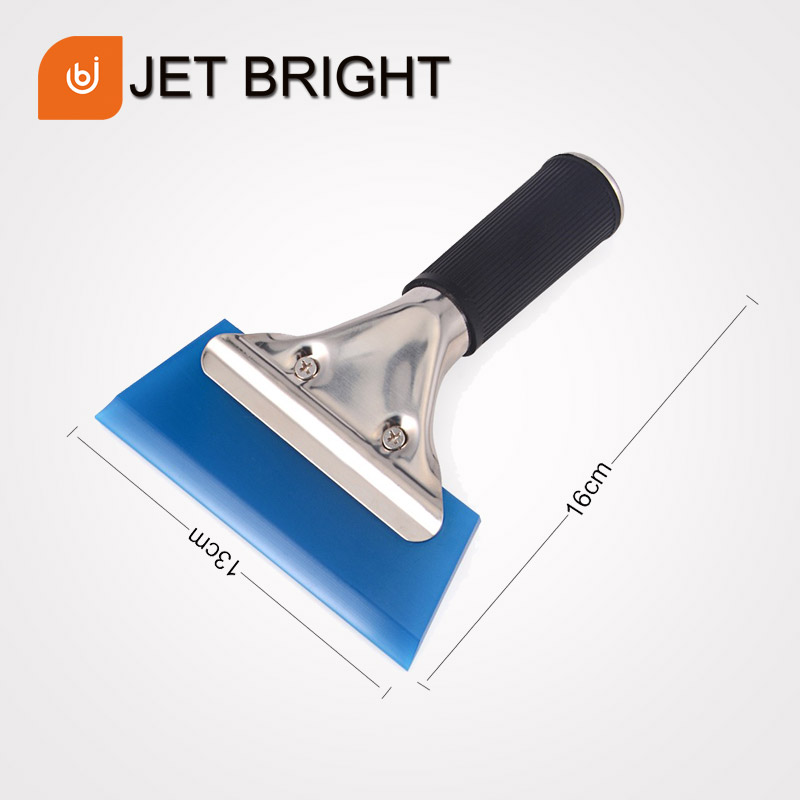
Window Tint Squeegee Specification

Size: 16 cm*13 cm
Weight:120 g
Material: rubber blade+stainless steel handle
Small box packing: 45*19*20 cm / 7 kg (50 pcs)
Carton packing: 48*41*42 cm / 30 kg (200 pcs)
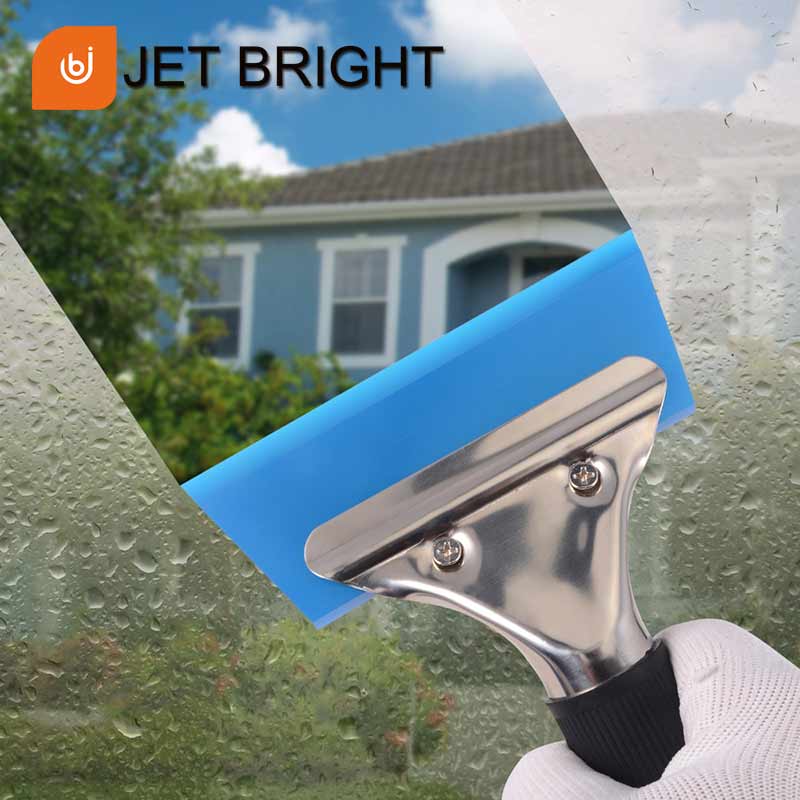
Window Tint Squeegee Application
This window tint tools is widely used to wrap the car window film and wipe out the water. Also use for vinyl signs wrap for shop, and glass in office.


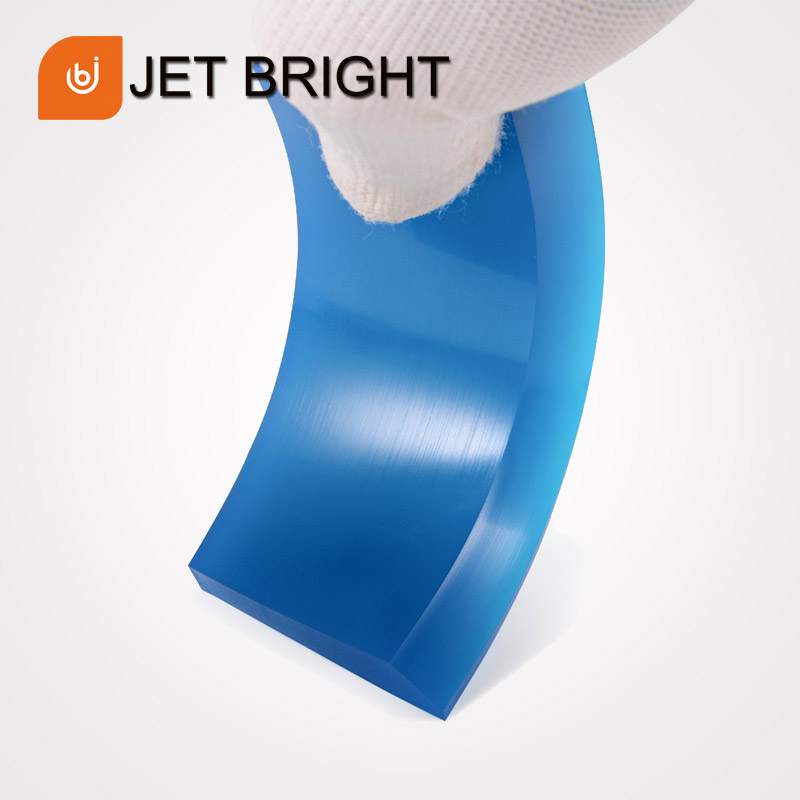
Window Tint Squeegee Feature
The window film squeegee have middle hardness rubber strip with good flexibility. The car window tint tools are very durability, easy use and wide application. And easy to change rubber strips.
Have durability rubber blade
This automotive window tint tools is the best squeegee for window tinting, the car tint squeegee come with the 7 mm thickness rubber blade, it will protect the film from scratch.
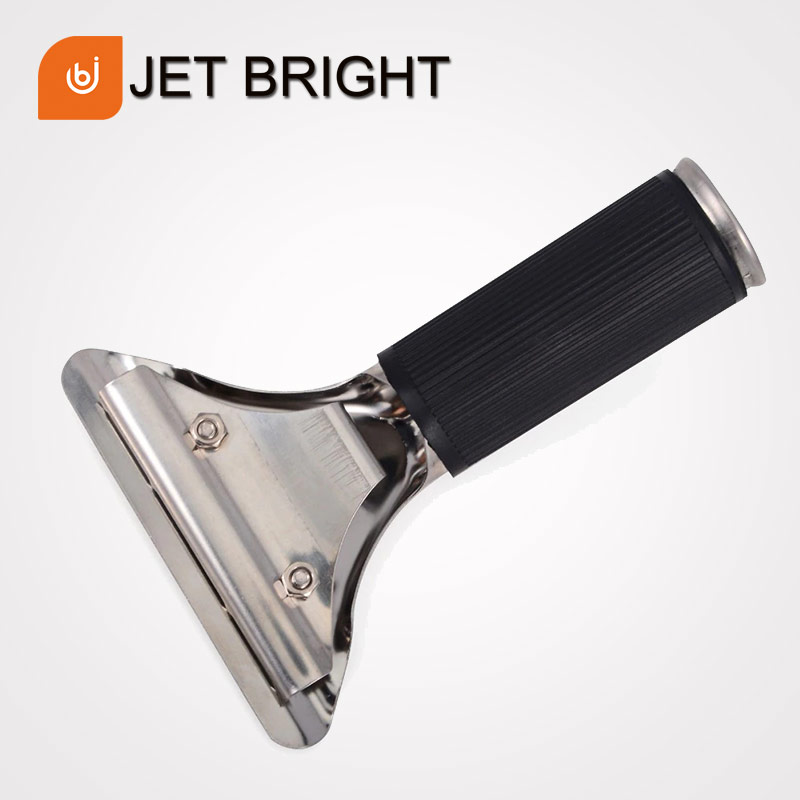
Have strong stain steel handle
The rubber squeegee for window tint have the strong stain steel handle, could use more long time, and have the rubber shell, make squeegee use more comfortable.
The step how to wrap window film?
Cleaning the window
Step 1: Wash the car – clean the car glass so that the window film can be cut on the glass. We should master the skills and techniques of cutting automobile film.
Step 2: Cutting —- spray the installation liquid on the outer surface of the window, cover the car film, peel the film outward, carefully slide and position. And cut the window film along the frame. Due to manual cutting, pay attention to the smoothness of the frame when cutting the automobile film.
Step 3: Dry baking – stick the automobile film on the window glass, adjust the temperature of the baking gun, bake the film, eliminate the wrinkles on the curved surface. And make the automobile film tightly adhere to the glass in the same arc with the glass. This can also solve the problem that the crown glass of the rear window must be cut into multiple pieces when installing the window film. The heat gun heat setting method can not only save a lot of time to deal with wrinkles. But also make the appearance of automobile film more comfortable and beautiful.
Step 4: Cleaning – after cutting the size of the window film, clean the inner surface of the window glass. Spray the cleaning liquid, remove the hard dirt on the glass surface with a special blade. Then wipe the oil stain with a nylon cloth, and scrape and squeeze the glass surface with a rubber strip.
Wrapping the window film
Step 5: After the glass is cleaned and wiped dry, remove the stripping film on the surface of the automobile film. Spray mounting liquid on the exposed adhesive layer, and there is an adhesive layer wrap by the mounting liquid on the surface. Which can make the automobile film slide and locate freely on the inner surface of the glass.
Step 6: Tear off the automobile film, spray the installation liquid on the inner surface of the glass and the adhesive layer, and now move the window film into the installation position.
Step 7: Move the automobile film in and spray the installation liquid on its surface again. When the automobile film is completely consistent with the glass. Use the water extrusion plate to extrude the installation liquid between the die and the glass. Pay attention to the squeezing and scraping sequence. So that all bubbles can be effectively squeezed out and the installation liquid can be squeezed out to the greatest extent. Because it is manual squeezing, it is inevitable that some installation liquid will remain. And the car will be exposed to the sun. After a few days, it will seep and evaporate through the car film layer.
Step 8: When pasting the rear gear, due to the electric heating wire on the glass. The window film to be pasted should be carefully moved into the installation place for positioning and extrusion.
Step 9: Carefully check the edges of all automobile films, and extrude them with a large yellow plate to make the edges of the automobile film more closely combined with the glass. In order to prevent air, water and dust from penetrating under the window film during the drying process.
Wrapping the window film
After the installation of the automobile film, the inner and outer surfaces of the window shall be carefully scrubbed to give the whole vehicle a bright and comfortable appearance. All in all, the applicator would like to wrap the Window film well, should have the useful window tint squeegee firstly.